How to Upload Your App on Google Play Store Step by Step
You finished the app. Customers ask where to download it. You open Google and see words like keystore, AAB, and data safety, and the honest thought is: this is not my job. Yet the google play store is where most Android users worldwide actually install software. Publishing there is learnable, even for non-technical founders, if you follow the right order.
This guide walks you through how to upload to google play without drowning in jargon. You will know what to prepare before you log in, what Google Play Console asks for, and why some apps sit in review for weeks while others move faster. Along the way, you will see where a website-to-app platform like WebInto.app fits in: it builds your Android package, handles signing keys, and ships APK and AAB files so you can focus on listings and compliance instead of Gradle files.
What You Need Before You Touch Google Play Console
Google does not accept a vague idea. It wants a signed Android binary, legal pages, and honest answers about user data. Treat this section as your packing list.
A signed release build (AAB, not APK for new apps)
Since August 2021, new apps on Google Play must upload an Android App Bundle (AAB) for production releases. An APK is still useful for internal testing or sideloading, but the store’s production track expects AAB. The bundle lets Google generate optimized APKs per device.
If you built your app from a website with WebInto.app, the dashboard already produces signed APK and AAB builds and stores your keystore securely. You download the AAB when Play Console asks for a release. That removes the most common blocker for founders: “I have an app on my laptop but not the file Google wants.”
A Google account and the one-time developer fee
You need a Google account you control long term (use a business email if you have one). Enrolling in Google Play Console costs a one-time $25 USD registration fee (same for developers in every country). Google may verify identity. Budget an hour for signup and payment, not five minutes.
Store-ready assets and copy
Store listings need more than a title. Plan for:
- App name (30 characters on Play)
- Short description (80 characters)
- Full description (up to 4,000 characters)
- Screenshots (phone required; tablet optional but helpful)
- Feature graphic (1024 × 500 px)
- App icon (512 × 512 px, high-res)
Write plain-language copy: what the app does, who it is for, and why someone should install it. Avoid keyword stuffing; Google’s policies penalize misleading text.
A public privacy policy URL
Every app needs a privacy policy link that works in a browser without login. The policy must describe what data you collect, why, and how users can contact you. If your app only wraps a website, you still collect device identifiers and usage data through the WebView and analytics, so “we collect nothing” is rarely true.
Host the page on your domain (yoursite.com/privacy) or use a generator, then keep the URL stable. Changing it later forces an app update in some cases.
Tip: If you do not have a lawyer on speed dial, try the free App Privacy Policy Generator. It asks Play-style questions (data types, third parties, contact email) and gives you HTML you can paste onto a simple /privacy page. Always read it once and tweak anything that does not match your real app before you paste the URL into Play Console.
A real example to keep you oriented
Picture Rosa, who runs a small meal-prep business in her city. She used WebInto.app to turn her ordering site into an Android app with swipe-to-refresh and push-ready hooks. She is not an engineer. Her checklist before Play Console was: signed AAB from the dashboard, six phone screenshots, a feature graphic made in Canva, and a privacy page linked from her website footer. That mindset (binary + visuals + legal link) is what this section is about.
Once those pieces exist, opening Google Play Console stops feeling like a trap and starts feeling like filling out a form.
Create Your Google Play Console Account and App
Head to Google Play Console and sign in. Complete developer registration if you have not already: accept agreements, pay the fee, and finish identity checks if prompted.
Start at play.google.com/console and use Go to Play Console (or Sign up if you do not have a developer account yet).
Create the app record
Click Create app and answer the early questions honestly:
- App name (customer-facing; you can refine later in store listings)
- Default language (pick the language your main audience reads)
- App or game, and free or paid
You will also declare whether your app contains ads, and whether it targets children. If your audience is general business users, you typically select No for designed-for-children unless the content is clearly kid-focused. Wrong answers here create rework during data safety review.
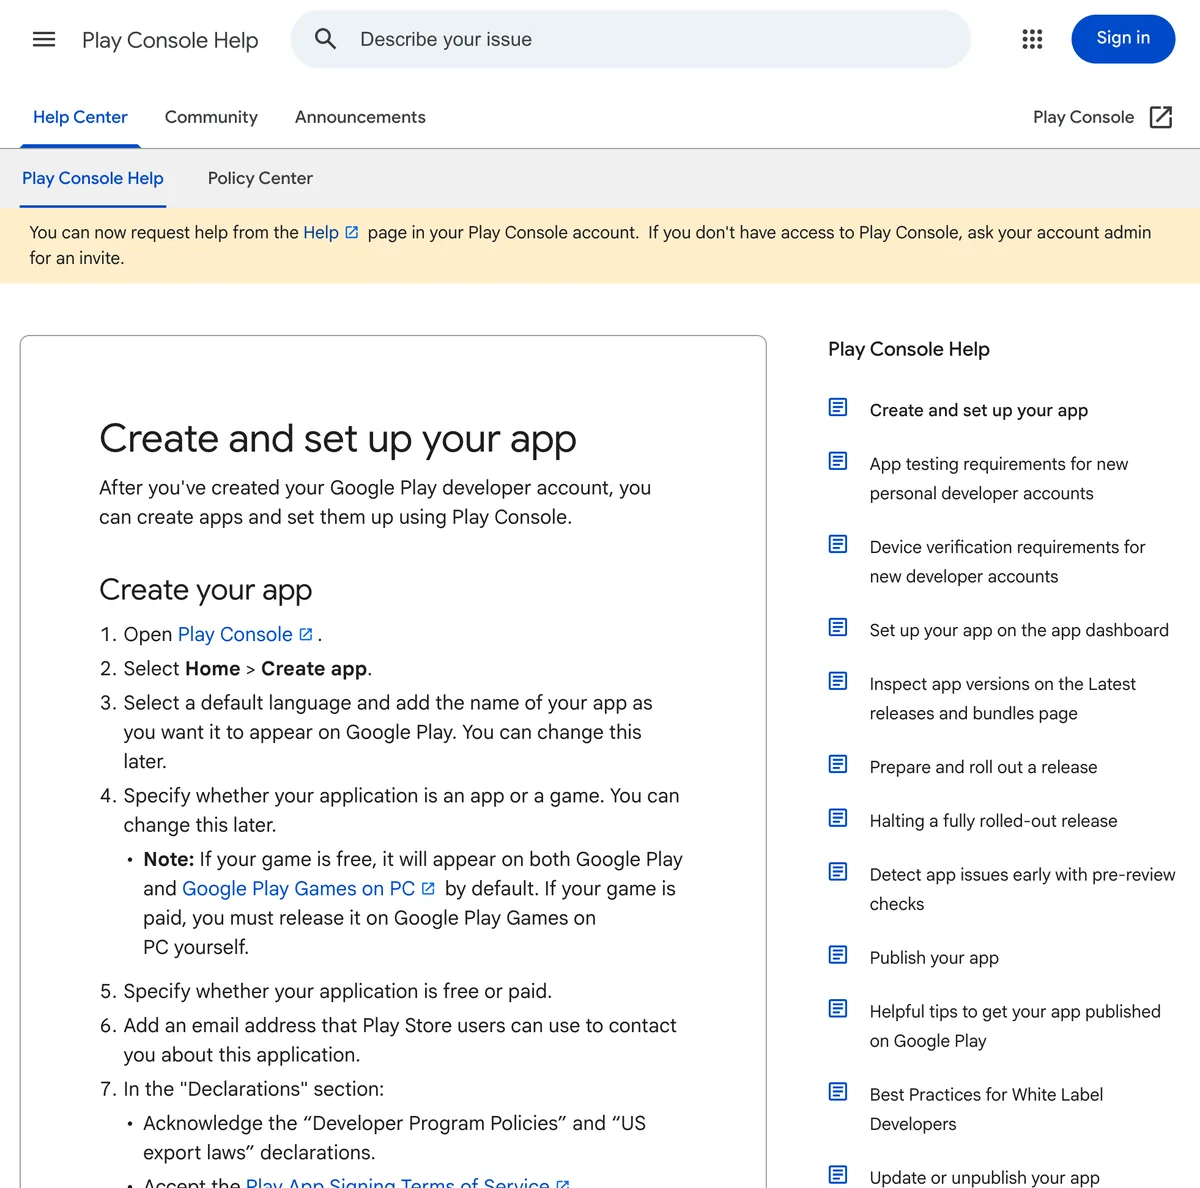
Google’s checklist: Home → Create app, then language, app type, free/paid, contact email, and declarations (Create and set up your app).
Choose your testing path early
Google now pushes many new personal developer accounts through closed testing before production. That often means 14 days of testing with real testers enrolled in a closed track. You cannot wish this away; you plan for it. Set up a closed test track as soon as you have a build, invite 12–20 people (customers, friends, team), and ask them to install and open the app. Document feedback lightly; Google cares that the track existed and was used, not that you filed a novel.
Understanding this upfront saves you from the frustration of “my app is ready, why can’t I go live today?”
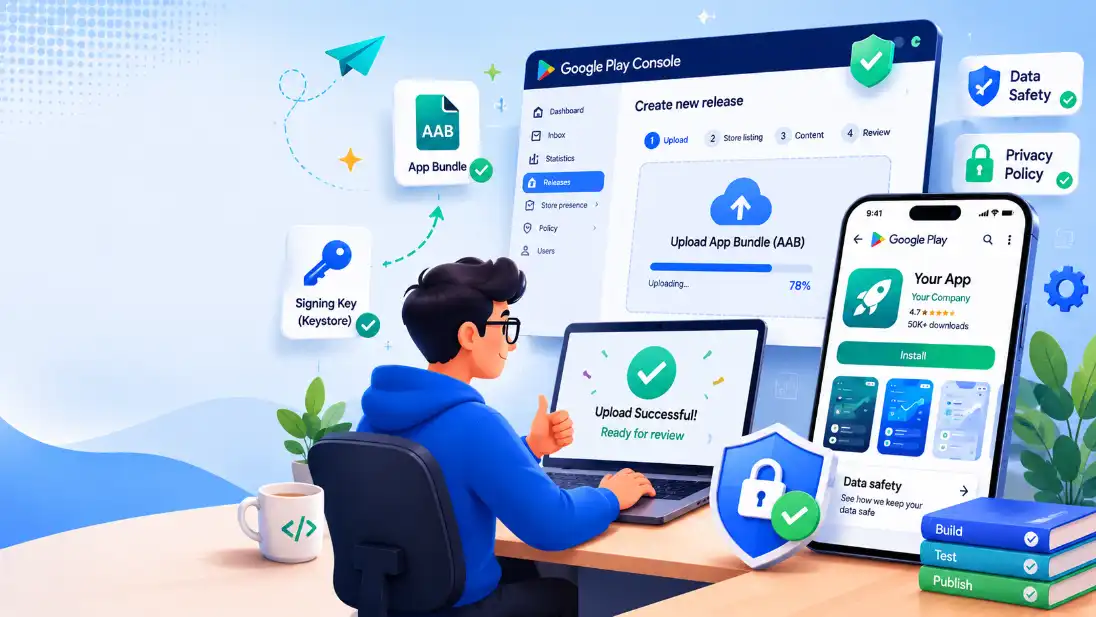
Build, Sign, and Upload Your First Release
This is the technical heart of upload to google play, explained in founder language.
Keystore: the key to every future update
Android apps are signed with a keystore. Lose it and you cannot update the same listing; you would publish a new app with a new package name and lose reviews. Back up keystore files and passwords if you manage them yourself.
WebInto.app manages keys for apps built on the platform so you are not hunting for a .jks file on an old laptop. If you ever export or use your own key, store copies offline and in a password manager your business controls.
AAB vs APK in practice
| File type | Typical use on Play |
|---|---|
| AAB | Production and most release tracks (required for new apps) |
| APK | Internal testing, legacy workflows, direct install |
In Play Console, open Release → Production (or Closed testing first), then Create new release. Upload your AAB. Google runs checks (bundle structure, signing, target API level). Fix errors before you send the release for review.
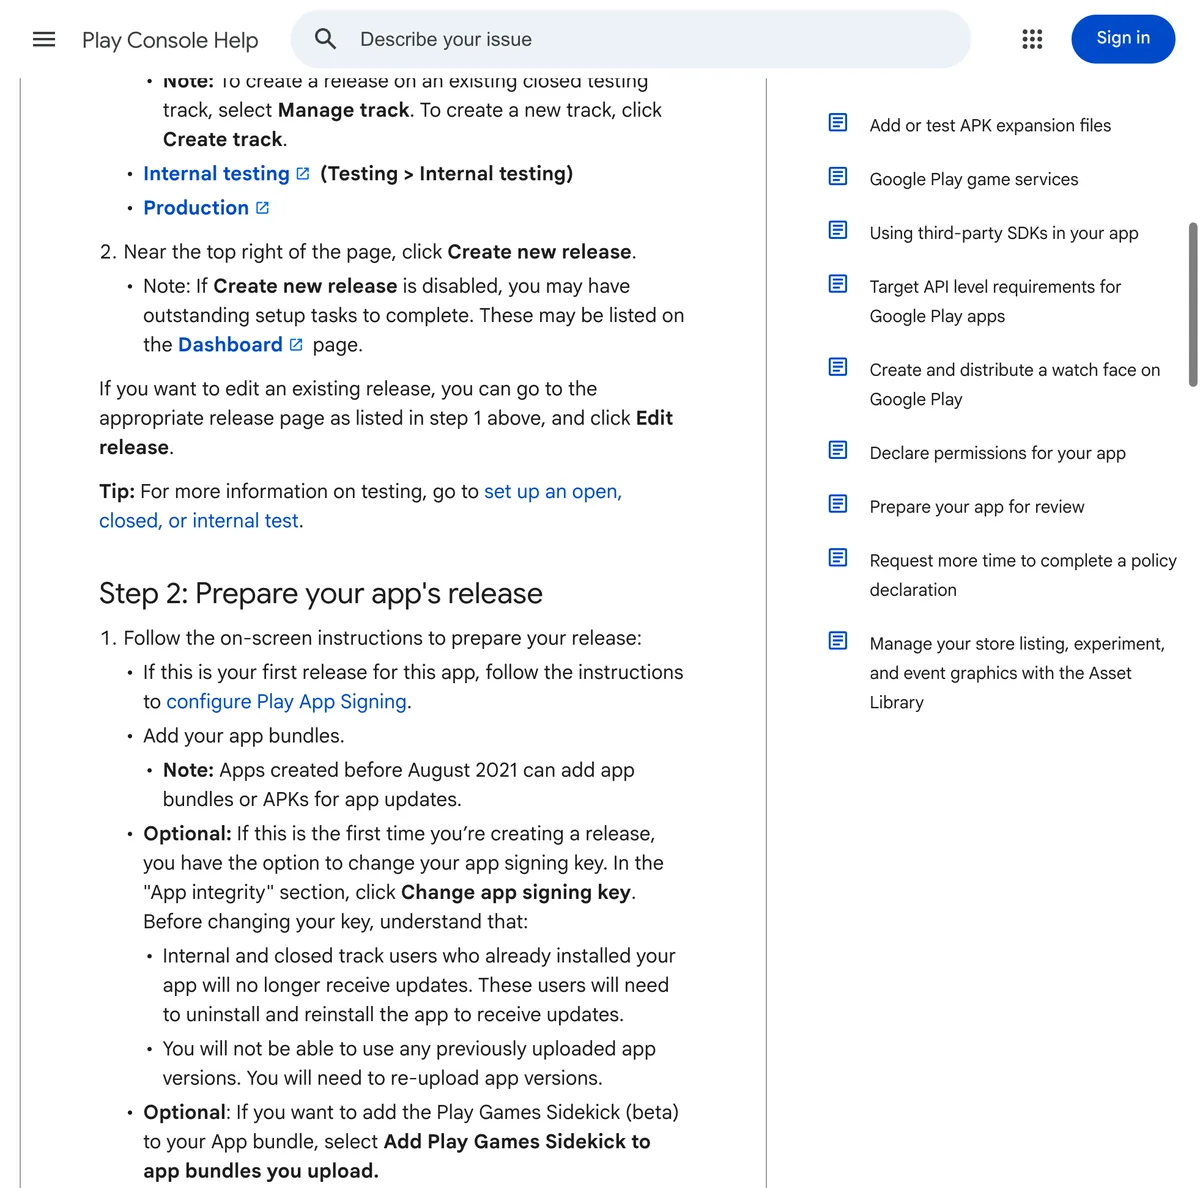
On the release page, choose Upload under App bundles, then continue through Play App Signing if prompted (Prepare and roll out a release).
Version codes and package name
Your package name (application ID) is permanent for that listing, like com.rosameals.app. Pick it carefully. Each upload needs a higher version code than the last. WebInto.app increments builds for you; if you build locally, bump the code every time.
Native features and remote updates
If your app wraps a website, most content updates happen on the server. WebInto.app also supports remote updates to app configuration, custom CSS and JS injection, and a native bridge for features like permissions or brightness. Play still reviews the binary you upload; major behavior changes in native code may need a new release. Plan a release rhythm (monthly or quarterly) even when your web content changes daily.
After the AAB uploads cleanly, you are ready to make the store page match what users will see.
Complete Store Listings and Metadata
Store listings are your sales page on the google play store. They must be clear, accurate, and consistent with what the app actually does.
In Play Console go to Grow users → Store presence → Main store listing, then fill App details and the Graphics section (Add preview assets).
Main store listing fields
Fill your default language listing first (for example English, Spanish, Hindi, or Arabic), then add translations if you need them:
- App name: brand + purpose (“Rosa Meals Orders”)
- Short description: one line benefit
- Full description: problem, solution, features, support email
Use short paragraphs and bullet-style lines (plain text, not HTML). Mention offline behavior only if it is real.
Graphics that pass review
Screenshots must show real app UI, not only marketing banners. Capture onboarding, home, and checkout (if applicable). The feature graphic appears at the top of your listing; keep text minimal and readable on small screens.
Google accepts PNG or JPEG. Use the same phone aspect ratio across shots so the gallery looks intentional. If your app supports dark mode, include at least one screenshot that reflects it. For WebInto.app projects, record screenshots on a mid-range Android phone rather than an emulator; real device fonts and spacing match what reviewers expect.
Play Console also offers listing experiments and acquisition tools under Growing your audience once the basics are done.
Pricing, countries, and distribution
Under Pricing and distribution, choose Free or Paid. Most first-time founders start free. Under Countries / regions, select every market where you can legally offer the app, handle payments if applicable, and support users in their language and timezone. You can exclude countries later, but starting too broad without support capacity creates refund and review headaches.
Metadata beyond the listing page
Metadata in Play Console also includes:
- Category (e.g. Food & Drink, Business)
- Contact details (email visible to users; phone optional)
- External marketing opt-in (optional)
Align category with how users search. A meal-prep app belongs in Food & Drink, not Tools, unless the product truly changed.
Content rating questionnaire
Complete the content rating questionnaire (IARC). Answer based on actual content: user-generated text, location, purchases, etc. You receive a rating label required for publishing.
Target audience and news apps
Declare target age groups accurately. Mislabeling a general business app as “for children” triggers stricter policy checks.
Strong listings reduce uninstalls and policy flags; they also set up the compliance sections that follow.
Privacy Policy, Data Safety, and Policy Declarations
Google separates “what you tell users” from “what you tell Google.” Both must align.
Privacy policy requirements
Link your privacy policy in App content → Privacy policy. The page should cover:
- Data you collect (email, name, location, device IDs, crash logs)
- Third parties (analytics, payment, push notifications)
- Retention and deletion requests
- Contact information
If you use WebInto.app with push or analytics SDKs, mention those providers by name in plain English.
The same privacy policy generator is handy here: run through it with your actual SDKs and permissions checked, then mirror those answers in the data safety form below.
Policy, Data safety, and App content tasks live under Play Console’s policy and privacy workflows.
Data safety form
The data safety section is a structured declaration of collection, sharing, encryption, and deletion options. Answers should match your privacy policy and your app’s real behavior.
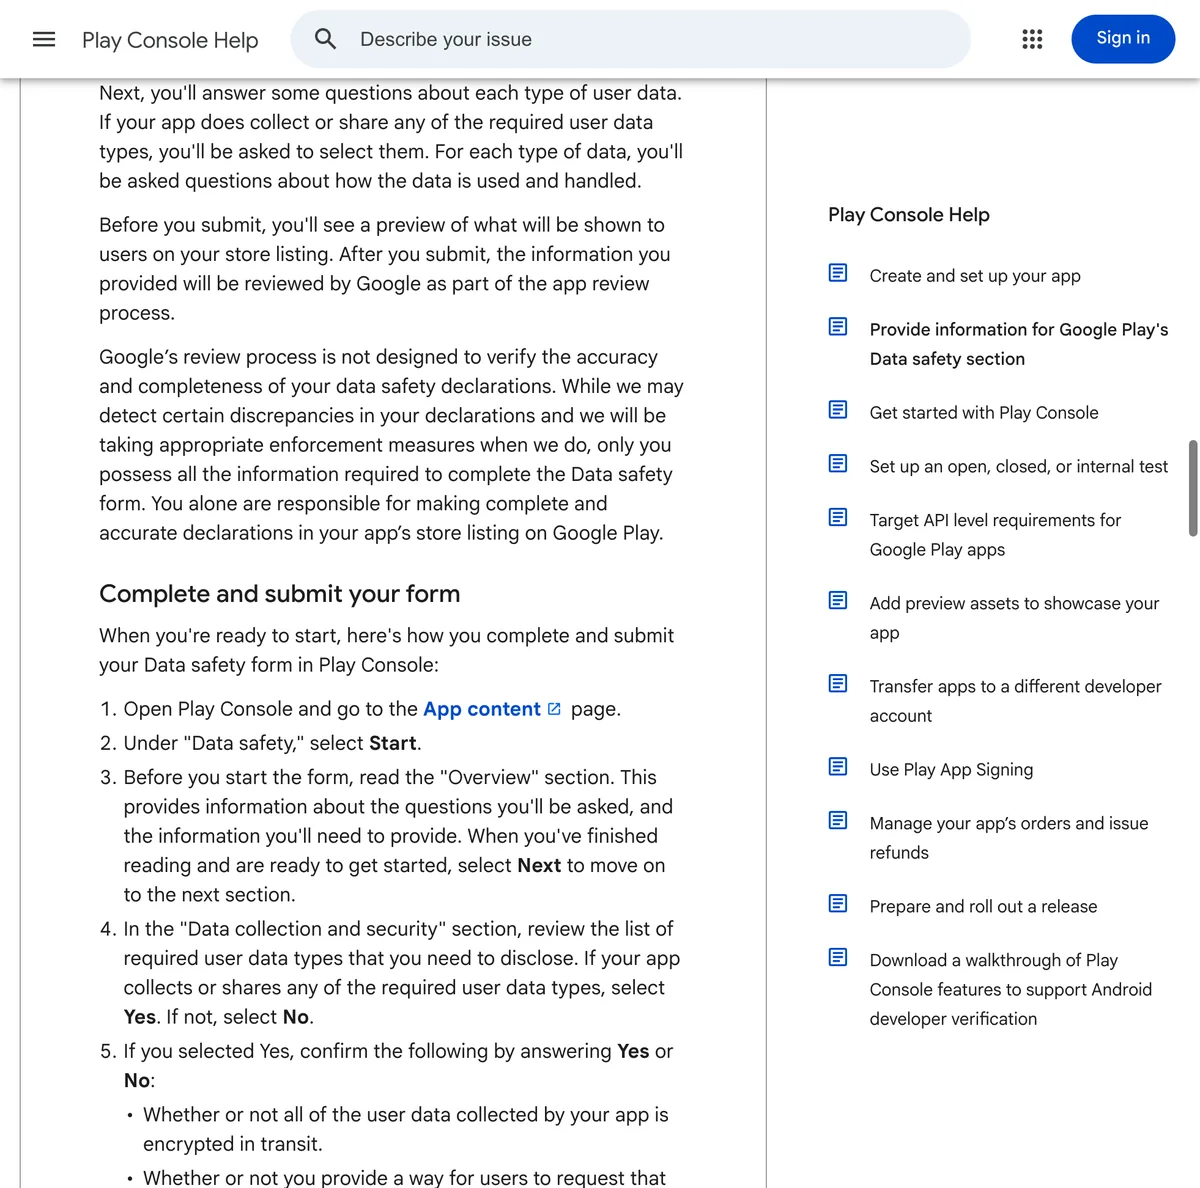
Open App content → Data safety → Start, answer collection and security questions, then submit (Data safety help).
Common data types for web-wrapper apps:
- App activity (in-app search history if logged)
- Device or other IDs
- Crash logs
If you do not collect a data type, say so. If you collect it but do not share it, say that too. Inconsistency between data safety, privacy policy, and app behavior is a top reason for rejection.
Ads, permissions, and sensitive permissions
Declare ads if you show them. List sensitive permissions (camera, location, SMS) only if your app requests them. WebInto.app’s native bridge can request permissions from JavaScript; each permission needs a user-visible reason on Play and in the app. Remove unused permissions from your build where possible.
Government apps, financial features, health
Extra forms apply for regulated categories. Skip or complete them accurately; do not ignore emails from Play Console about missing declarations.
With legal and data sections truthful, you can move testers onto a release and count calendar days.
Testing: Closed Tracks, Open Testing, and the 14-Day Rule
Publishing is not only “upload file, press button.” Google wants evidence that your app works for real people.
Internal testing (fast feedback)
Internal testing lets a small group (up to 100 testers) install quickly. Use it for crash checks and broken links. Promote the same AAB to closed testing when stable.
Closed testing and the 14 days testing expectation
For many new developer accounts, Google requires closed testing with a minimum number of testers active for about 14 days before production access unlocks. Requirements evolve; read the Play Console banner on your Dashboard for the exact rule on your account.
Typical path: Testing → Closed testing → Manage track → Testers, create an email list, share the opt-in link (Set up testing).
Practical tips:
- Recruit testers who will actually open the app twice in two weeks
- Share the opt-in link from the Testers tab
- Fix crash reports shown under Android vitals before production
Use Android vitals in Play Console to catch crashes and ANRs before you ship to everyone.
Open testing and production
Open testing scales to more users without going fully public. When eligible, promote a tested release to Production, set rollout percentage (start at 5–20% if you are cautious), and submit for review.
Pre-launch report
Use Pre-launch report on internal or closed tracks to catch layout issues on different devices. Web-wrapper apps sometimes break login flows on small screens; screenshots from testers help too.
What reviewers flag on web-to-app builds
Common issues for website shells include broken third-party cookie login, payment pages that open external browsers awkwardly, and pages that refuse to load without desktop user agents. Test account creation, password reset, and checkout on Wi-Fi and mobile data. If you injected custom CSS and JS through WebInto.app, verify those scripts on Android Chrome first; what works in desktop Safari may fail in WebView.
Ask testers to leave one written note each: what confused them, what crashed, and whether the app felt “native enough.” You fix the list before production, not after bad public reviews.
Testing feels slow, but it is cheaper than a one-star flood on launch day.
Submit for Review and Go Live on Google Play
You are close when every section in Play Console shows a green check or a clear “Submit” action.
Final release checklist
- AAB uploaded to the track you are publishing (production or staged rollout)
- Store listings complete for your default language
- Content rating received
- Privacy policy URL live
- Data safety submitted
- Target API level meets Google’s current requirement (Console warns you if not)
- App signing by Google Play enabled (recommended; Play holds the upload key while you use an app signing key)
Send changes for review
Click Send for review (or Publish depending on UI). Review times vary from hours to several days. First apps often take longer. Respond quickly if Google opens a Policy status issue.
After the release is ready, use Review and roll out (or Send changes for review on the publishing overview) when store listing, App content, and pricing are complete.
While you wait, prepare launch assets outside Play Console: a short email to your list, social posts with a link or QR to your Play listing, and a support doc for “how to install.” Users trust the listing more when the same brand URL they already know points to the store page.
Staged rollout and rollback
Production lets you ship to a percentage of users first. If crash rates spike in Android vitals, halt the rollout and upload a fixed AAB. Google keeps the previous release available to users who have not updated yet, which buys time without delisting the app entirely.
After approval
Your app can appear on the google play store within hours of approval, depending on rollout settings. Monitor Ratings and reviews, Android vitals, and User feedback. Ship fixes as new AAB versions with incremented version codes.
Keep improving without a full rebuild
Website-first apps benefit from updating web content anytime. WebInto.app’s remote update features, swipe to refresh, and injected CSS/JS let you polish UX between store releases. Still upload a new binary when you change native behavior, permissions, or target SDK requirements Google mandates.
You have now walked the full path from binary to live listing.
Conclusion: You Can Upload to Google Play Without Becoming a Developer
Publishing on the google play store is a sequence: signed AAB, honest store listings, a real privacy policy, accurate data safety, and patience through 14 days testing when Google requires it. None of that demands learning Java. It demands preparation and consistency.
If your app started as a website, WebInto.app shortens the build side: automatic conversion to a native Android shell, managed keystore, downloadable APK and AAB, plus features like remote updates, swipe to refresh, custom code, and a native bridge for advanced behavior. You spend your energy on Play Console forms and customers, not on chasing signing keys.
Start with Rosa’s checklist: binary, visuals, policy link. Create your Play Console app, upload to a test track, invite real testers, then promote to production when the dashboard allows. The first launch is the slowest; the second update is far easier.
When your listing is live, link it from your website footer and email signature. Your users have been waiting for a one-tap install.
FAQ
Do I upload an APK or an AAB to Google Play?
For new apps and production releases, Google requires an AAB (Android App Bundle). APK files are still fine for some internal testing tracks or direct install outside the store. If you use WebInto.app, download the AAB from your project dashboard when Play Console asks for a release bundle.
What is a keystore and what happens if I lose it?
A keystore is the cryptographic identity used to sign your app. Google ties updates to that signature. If you lose the keystore and Google Play App Signing is not set up to recover, you may be unable to update the same listing. Treat backups and passwords as business-critical, or use a platform that manages keys for you.
How long does Google Play review take?
Many apps pass review in one to three days. First-time publishers, incomplete data safety forms, or policy mismatches can stretch that to a week or more. Closed testing requirements add calendar time before you can even request production, especially the 14 days testing rule for new personal accounts.
Do I really need a privacy policy for a simple WebView app?
Yes. A wrapper app still processes data (device IDs, network traffic, possible logins, analytics, push tokens). Google Play Console requires a public privacy policy URL, and your data safety answers must match that page. Copying a generic template without editing it for your app is a common rejection reason.
Can I update my app without resubmitting to the Play Store?
You can change most website content anytime because it loads from your server. Configuration tweaks, styling, and some behavior can be delivered through WebInto.app remote updates and custom CSS/JS. You must upload a new AAB when you change native code, permissions, target SDK, or anything that alters the declared data safety or policy footprint.
Ready to start?
Convert your website into an Android app
Install Web2App and build your APK in minutes. No coding required.
