How to Convert a Website Into an Android App Without Coding
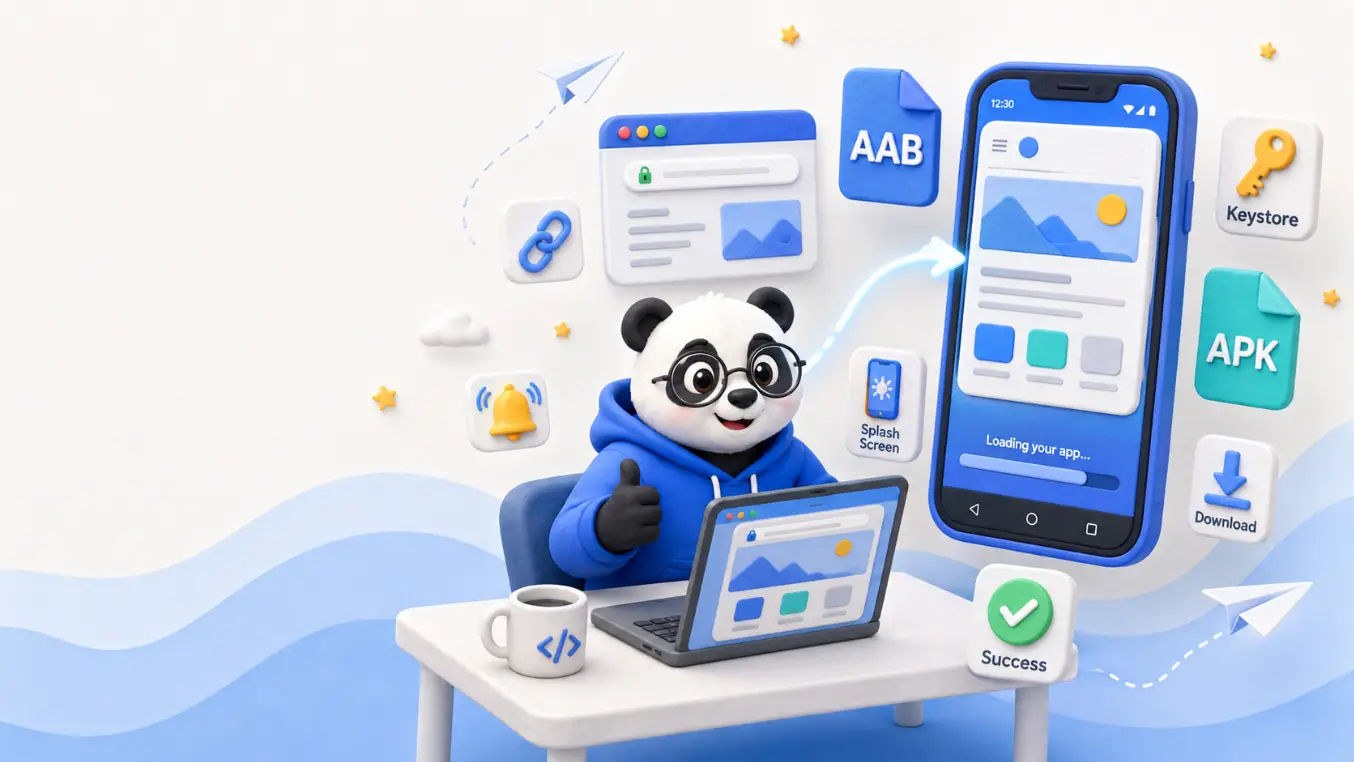
Your website may already handle products, accounts, payments, or content perfectly on mobile. The missing piece is often a convenient app icon, Android navigation, and a package that can be distributed through Google Play. You can convert website to Android app without coding by placing that existing experience inside a carefully configured Android WebView app.
This approach is not a substitute for fixing a poor mobile website. It works best when the site is responsive, secure, and fast before conversion. When those foundations are sound, a website wrapper can provide an installable presence without maintaining a separate Kotlin codebase.
This guide explains the complete process, including preparation, configuration, APK and AAB generation, testing, publishing, and ongoing updates. It also identifies where a no-code app builder helps and where the website owner still needs to make product decisions.
Understand What a Website-to-App Converter Builds
A website to app converter creates a native Android project whose main screen loads web content. Android calls the browser component a WebView. The resulting application has a package name, icon, signing identity, permissions, and navigation behavior just like other Android applications.
Your server remains the source of most content. If you change a product price, publish an article, or update account data on the website, the app normally receives that change the next time it loads the page. This is why website wrappers can be practical for businesses that already operate a reliable web platform.
What stays on the website
The website continues to control page layout, authentication, business logic, database operations, checkout, and most analytics. Existing responsive routes can usually be loaded without copying them into an app project.
This shared content model reduces duplicate maintenance. It also means a server outage or broken mobile layout affects the app, so website reliability remains essential.
What the Android shell adds
The native shell controls the launcher icon, splash screen, system back button, file handling, link behavior, status bar, and optional features such as push notifications. It also produces installable and publishable build files.
An APK is useful for direct installation and device testing. An AAB, or Android App Bundle, is the publishing format expected for new apps on Google Play. The bundle lets Google Play generate optimized APKs for different devices.
When this method is a good fit
A wrapper is suitable for content sites, dashboards, booking services, communities, and stores that already work well in a mobile browser. It is less suitable when the product depends on intensive background processing, complex Bluetooth communication, advanced 3D graphics, or deeply native interactions.
Compare the options in the PWA to Android app guide if you already have a Progressive Web App. A PWA and a Play Store app can share web infrastructure, but their installation and native integration paths differ.
With the architecture clear, the next task is preparing inputs that will remain stable after release.
Prepare Your Website and Android Identity
Good preparation prevents most conversion problems. A converter can generate a package, but it cannot automatically make desktop-only pages comfortable on a phone or choose a durable app identity for you.
Audit the mobile experience
Open the website on several real Android devices or responsive browser sizes. Test menus, forms, video, checkout, sign-in, password reset, file uploads, and any third-party payment redirects. Check both light and dark system themes if the site reacts to them.
Use HTTPS on every route loaded by the app. Mixed content, where a secure page requests insecure resources, can fail or expose users to risk. Remove browser-only prompts that would be confusing inside an installed app, such as repeated requests to add the site to the home screen.
Performance matters because every slow server response is still slow inside WebView. Compress large images, avoid blocking scripts, and reserve space for dynamic content to reduce layout shifts.
Choose a permanent package name
The package name uniquely identifies the app on Android and Google Play. A reverse-domain format such as com.example.customerapp is conventional. Choose it carefully because an existing Play Store listing cannot simply change to a different package name.
The display name can change later, but the package identity and signing continuity are more permanent. Search your own project records before creating a new identity for an app that may have been published previously.
Prepare visual assets and policies
Create a clear square launcher icon with enough padding to survive Android's adaptive icon masks. Prepare a splash treatment that looks intentional during startup without delaying access to content.
Also review the website's privacy policy. The policy should describe data collected through forms, analytics, advertising, account features, and any app-specific SDKs. Google Play declarations must match the behavior of the final build, not only the public website.
Write down the required permissions. Camera access may be justified for profile photos or document scanning, while location may be needed for local delivery. Do not request permissions that the app does not use.
Once these inputs are ready, the actual no-code build becomes a controlled configuration exercise.
Convert Website to Android App Without Coding
WebInto.app provides an Android-focused wizard for turning a live URL into an app package. You configure the experience through forms and previews rather than writing Java or Kotlin.
You can test the app builder with a seven-day free trial. After that, the stated one-time price is $9.99 for one app or $24.99 for unlimited apps, with no recurring builder subscription. Confirm the current checkout terms and remember that Google Play developer registration remains a separate cost.
Step 1: Create the app project
Open WebInto.app and start a new app. Enter the production HTTPS URL that should load first. Use the canonical domain rather than a temporary preview address so cookies, redirects, and deep links behave consistently.
Set the app name and permanent package name. Upload the launcher icon, choose the primary color, and select an appropriate theme behavior. These details affect the first impression before the website appears.
Step 2: Configure startup and loading
Select a splash screen that matches the brand. Keep it simple and avoid using the splash as an advertisement. Configure a progress indicator so users can distinguish a slow page from a frozen interface.
Preview edge-to-edge rendering carefully. If website controls appear beneath the Android status bar, add safe spacing through the builder's custom CSS option. Scope injected styles to the routes that need them so a checkout or embedded service is not changed accidentally.
Step 3: Define navigation and links
Use bottom navigation only when it improves access to stable destinations such as Home, Shop, Orders, or Account. Too many tabs create clutter and can conflict with the site's own navigation.
Define which URLs stay inside the app and which open in the external browser. Keep trusted first-party routes internal. External documentation, unrelated domains, or links that explicitly require another app can leave the WebView. Block schemes or hosts the app should never open.
The Android back button should move through WebView history before closing the app. Test redirects and single-page application routes because their history behavior can differ from traditional pages.
Step 4: Add only necessary capabilities
Enable downloads if customers need invoices, tickets, or documents. Restrict allowed download hosts where possible. Map camera, microphone, or location permissions to pages that genuinely require them instead of exposing them to every route.
Push notifications can be connected for useful account or content messages. If you use OneSignal, the OneSignal JavaScript integration guide explains how a web page can communicate with the app environment.
For connection failures, configure a concise retry experience. The custom HTML no-internet screen guide provides the supported error placeholders and native reload action.
Step 5: Preview before building
Use the built-in preview to inspect the launch route, theme, navigation, and common journeys. Preview is an early check, not a replacement for installing the generated APK on multiple devices.
When the configuration is stable, start the build. Download the resulting package and keep all signing information together. The next phase is validating those files under realistic conditions.
Test the APK With a Realistic User Journey
Installing an APK proves that Android can launch it. It does not prove that the app is ready for customers. Test the full journey that generates value and the failure paths that could prevent it.
A concrete course-platform example
Suppose Priya runs learnwithpriya.example, a responsive course website. Students sign in, stream lessons, download worksheets, and purchase new modules through a hosted payment page.
She creates com.learnwithpriya.app, adds Home, My Courses, and Account tabs, and keeps all first-party pages internal. The payment provider opens externally because its authentication flow works more reliably in Chrome. Downloads are allowed only from her worksheet storage domain.
Priya installs the APK on a recent Android phone and an older low-memory device. She tests password reset, video rotation, a PDF download, checkout return, the hardware back button, and relaunch after sign-in. She also switches between Wi-Fi, mobile data, and airplane mode to confirm the no-internet screen offers a working retry action.
This example shows why configuration should follow actual journeys. A generic checklist would not reveal that the payment domain needs external handling or that worksheet downloads require a host rule.
Test account and session behavior
Sign in, close the app, and reopen it. Confirm session cookies persist as intended without keeping sensitive sessions longer than your web policy allows. Test logout and account deletion routes.
Try Google, Facebook, or other federated login flows if the site uses them. Some providers restrict embedded authentication, so an external browser or platform-specific flow may be required.
Test devices, networks, and permissions
Cover at least one current Android version and one older version supported by the build. Check small and large screens, portrait and landscape layouts, keyboard behavior, dark mode, and accessibility font scaling.
Deny each permission once, then verify the related page explains how to proceed. Slow the connection, disconnect during navigation, and reconnect before tapping Retry. Test deep links from a message or web page if they are part of the release.
Keep a release checklist
Record the build version, package name, tested devices, known limitations, and sign-off result. Repeat the high-value journeys after any native configuration change. Web content changes should also receive normal website testing because they reach app users without a binary update.
After the APK passes these checks, generate or select the release AAB for store submission.
Publish and Maintain the Play Store App
Google Play distribution adds requirements beyond a successful build. You need a Play Console account, accurate store assets, policy declarations, an app signing plan, and a release that meets current target API rules.
Protect the signing identity
Keep the JKS or upload key, alias, and passwords in an access-controlled backup. Signing establishes continuity between releases. Losing the relevant key can delay updates and require a recovery process.
If Google Play App Signing is enabled, distinguish the app signing key managed by Google from your upload key. Do not casually replace either. Consult Android's current app signing documentation before changing an established workflow.
Submit the AAB
Create the Play Console application using the same package name as the generated build. Complete the store listing, app access instructions, content rating, ads declaration, data safety form, and privacy policy link.
Upload the AAB to an internal testing track first. Invite a small group, install through Google Play, and repeat the critical journey. Store-delivered builds can reveal signing, deep-link, or update behavior that sideloaded APK testing did not cover.
The Google Play upload guide walks through the release flow in more detail. Store requirements change, so rely on current Play Console notices for deadlines and mandatory declarations.
Separate web updates from binary updates
Normal product content comes from the website and usually appears without rebuilding. Builder settings that support remote app updates may also change behavior without a new store release.
A new binary is still appropriate when you change native permissions, SDKs, package-level configuration, or anything Google Play evaluates from the uploaded artifact. Maintain version codes in increasing order and document what each release changes.
Use web analytics and crash or error reporting responsibly to identify failing routes. App reviews can reveal usability issues, but they should be treated as qualitative feedback rather than a complete diagnostic system.
Conclusion: Convert Website to Android App Without Coding Responsibly
The reliable way to convert website to Android app without coding is to treat the wrapper as a product, not a file generator. Start with a responsive HTTPS website, choose a permanent package identity, configure navigation and permissions around real journeys, then test the APK before submitting the AAB.
WebInto.app can handle the no-code Android shell and build outputs while your website remains the content and business-logic layer. If your site is ready, download WebInto.app to create a project and preview the experience before deciding to publish.
FAQ
Can any website be converted into an Android app?
Most responsive HTTPS websites can load inside an Android WebView, but compatibility is not guaranteed. Authentication providers, payment pages, downloads, popups, and hardware-dependent features require specific testing and sometimes external-browser handling.
What is the difference between an APK and an AAB?
An APK is an installable Android package commonly used for direct device testing. An AAB is a publishing bundle that Google Play processes into optimized APKs for user devices, so keep both when your builder provides them.
Do website updates require a new app build?
Changes served by your website, such as products, articles, and account pages, normally appear without a new Android build. Changes to native permissions, integrated SDKs, or package configuration generally require a new AAB release.
Is an Android WebView app accepted by Google Play?
Google Play evaluates the complete app against its current policies, including functionality, content, privacy, and user experience. A WebView architecture is not an automatic approval or rejection, so provide meaningful value and ensure every declaration matches actual behavior.
Do I need a Google Play account to create the app?
No. You can configure the project, generate an APK, and test it without publishing. A Play Console developer account and its required verification are needed when you want to distribute through Google Play.

Ready to start?
Convert your website into an Android app
Install WebInto.app and build your APK in minutes. No coding required.